
DIY - Coffee Table
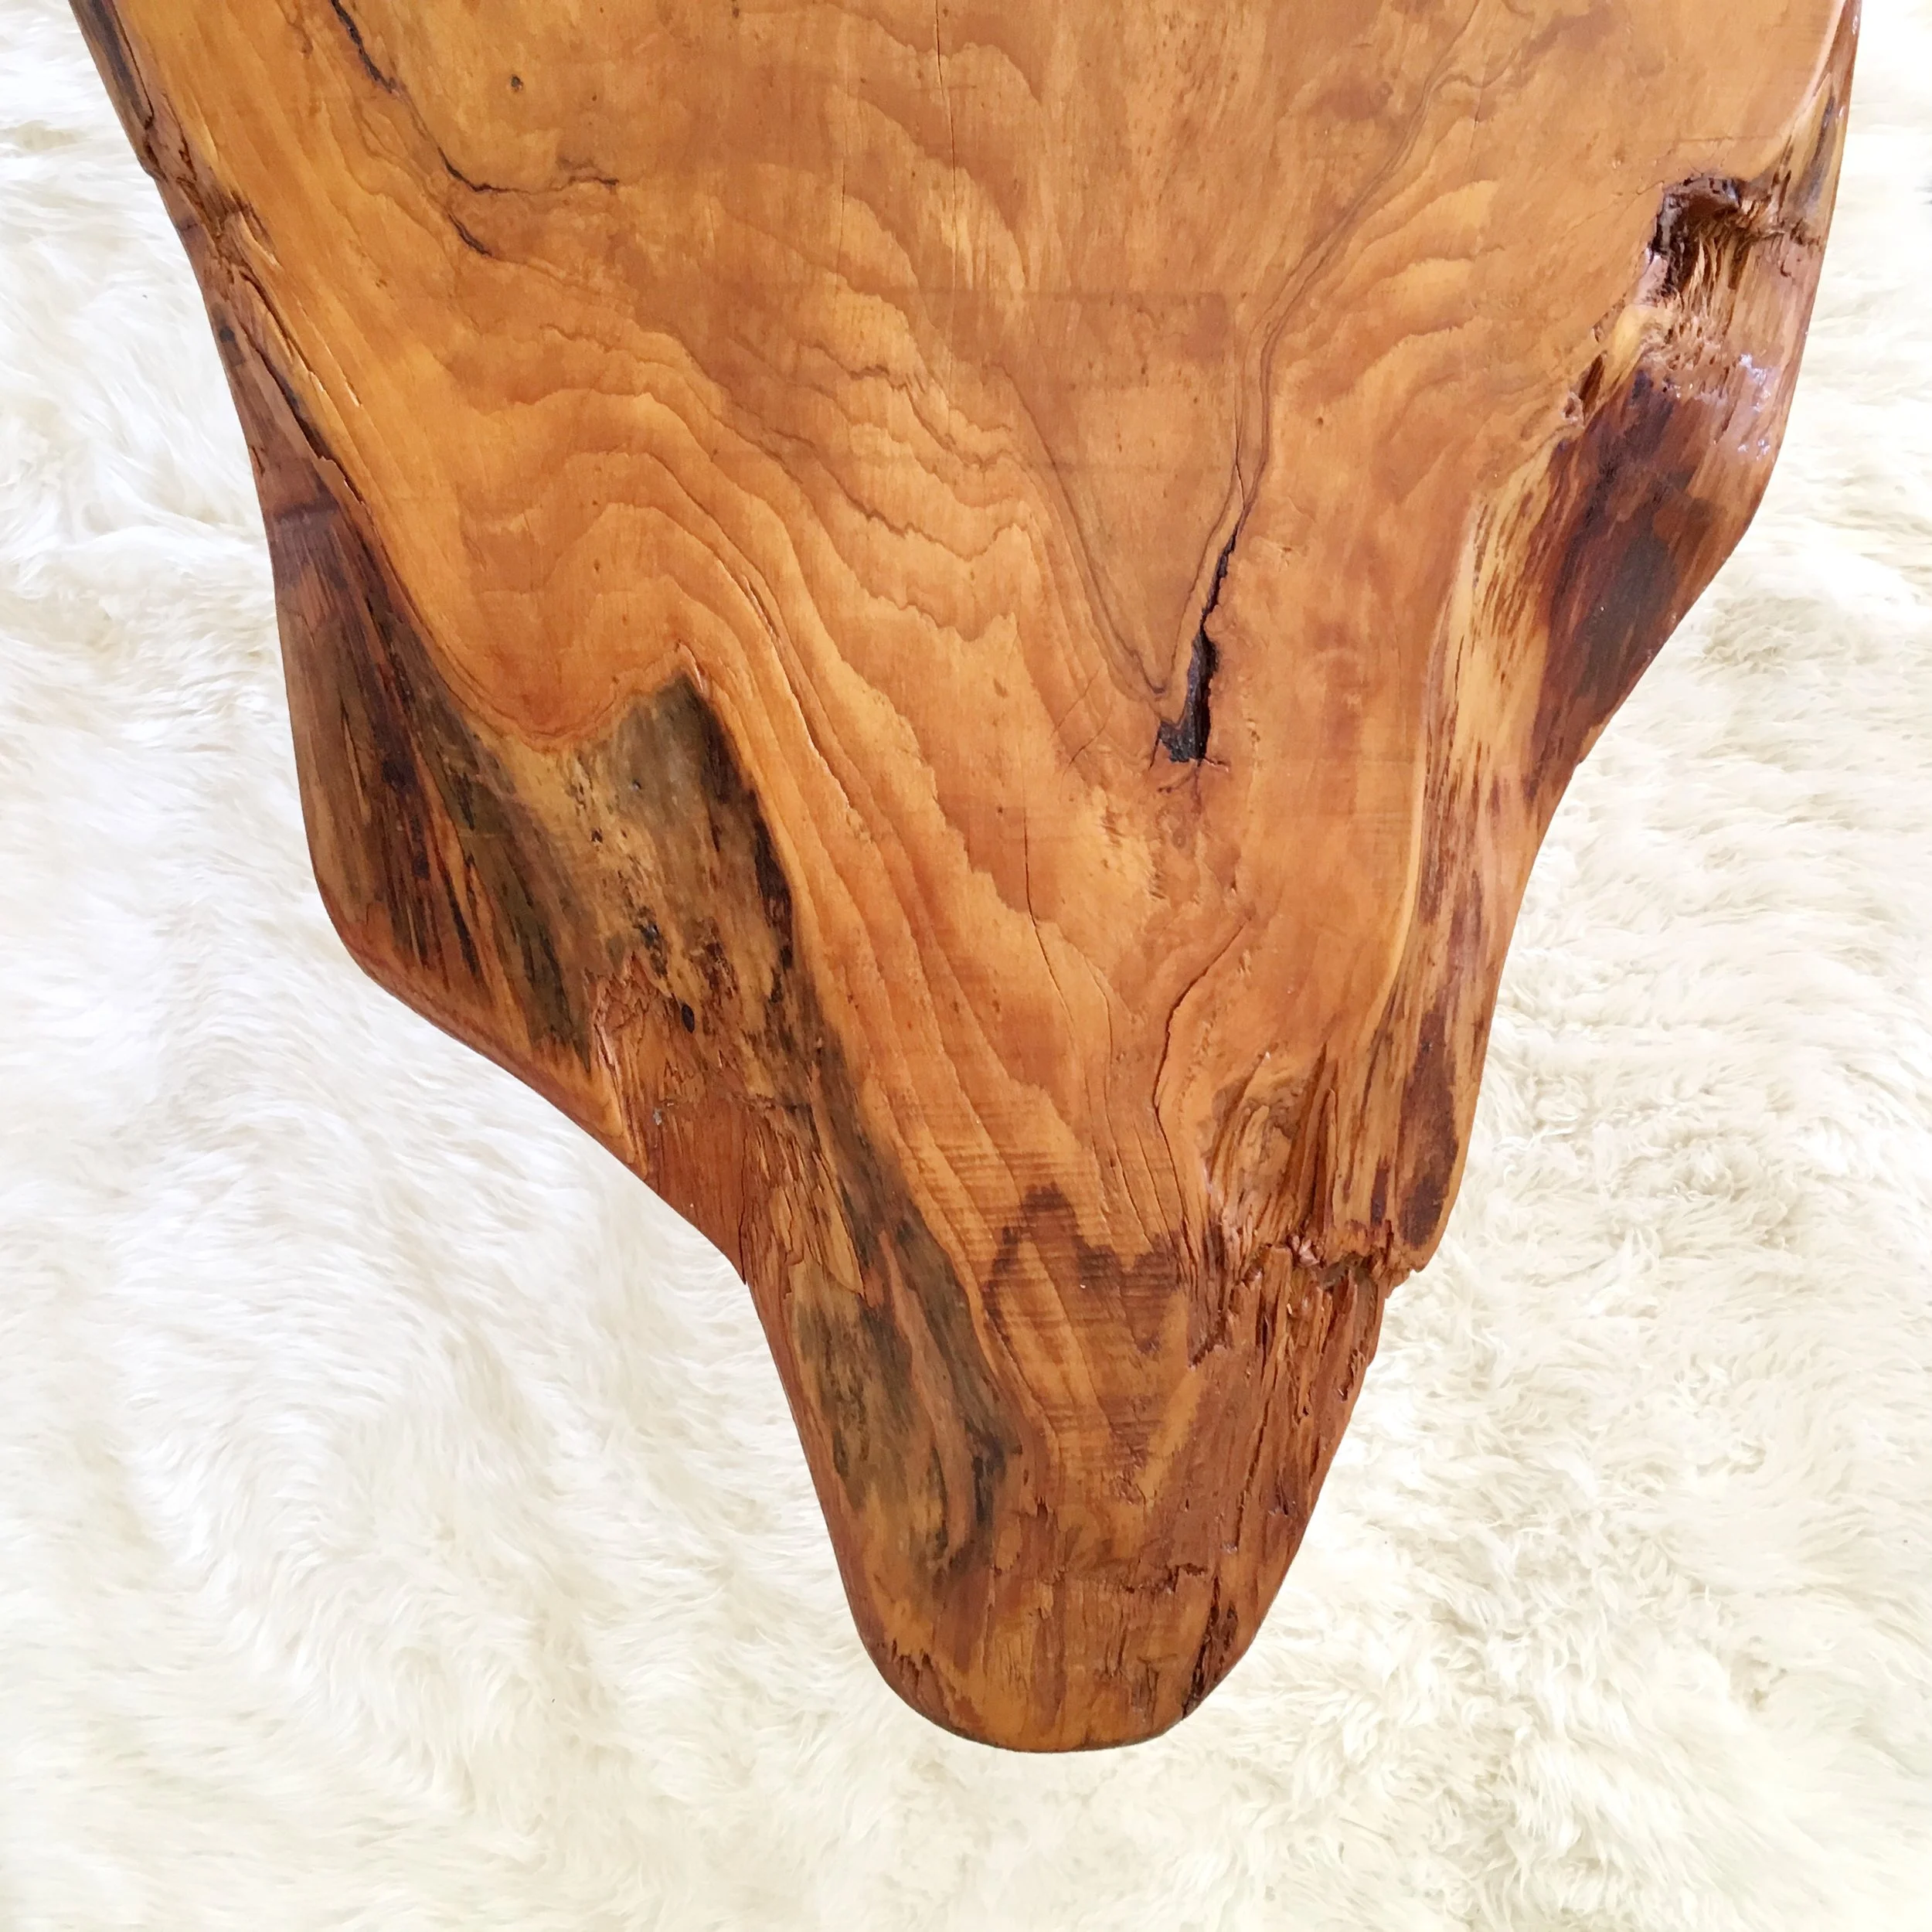


I was staying with my mum before I moved out here to North Carolina and she gave me one of her coolest treasures. For as long as I can remember, she had a Douglas Fir wood burl she kept in the barn. She got it from my uncle about 25 years ago when he was working in a lumber mill. When I was packing up my furniture (she stored it for us while we were in transition) she stuck the burl with my stuff and said I could have it. She always had plans to make something out of it, but never had the time, motivation, inspiration, or something like that. We've all been there. I immediately knew what I was going to do with it. I wanted to make a coffee table.
I did a little research to see the process others took and finally (after letting it sit in my garage for six months) built up my bravery and dove in. I found this source most helpful and ordered my legs from these guys- no regrets at all.
Read below to follow my process and to build your own coffee table!
MATERIALS: Wood (burl, slab, board, whatever you wish to be your table top), Legs (again there are multiple options), Polyurethane finish, paintbrush, sander and/or sandpaper, screws, screwdriver and rag.
DIRECTIONS: Sand your wood then wipe off all the dust.
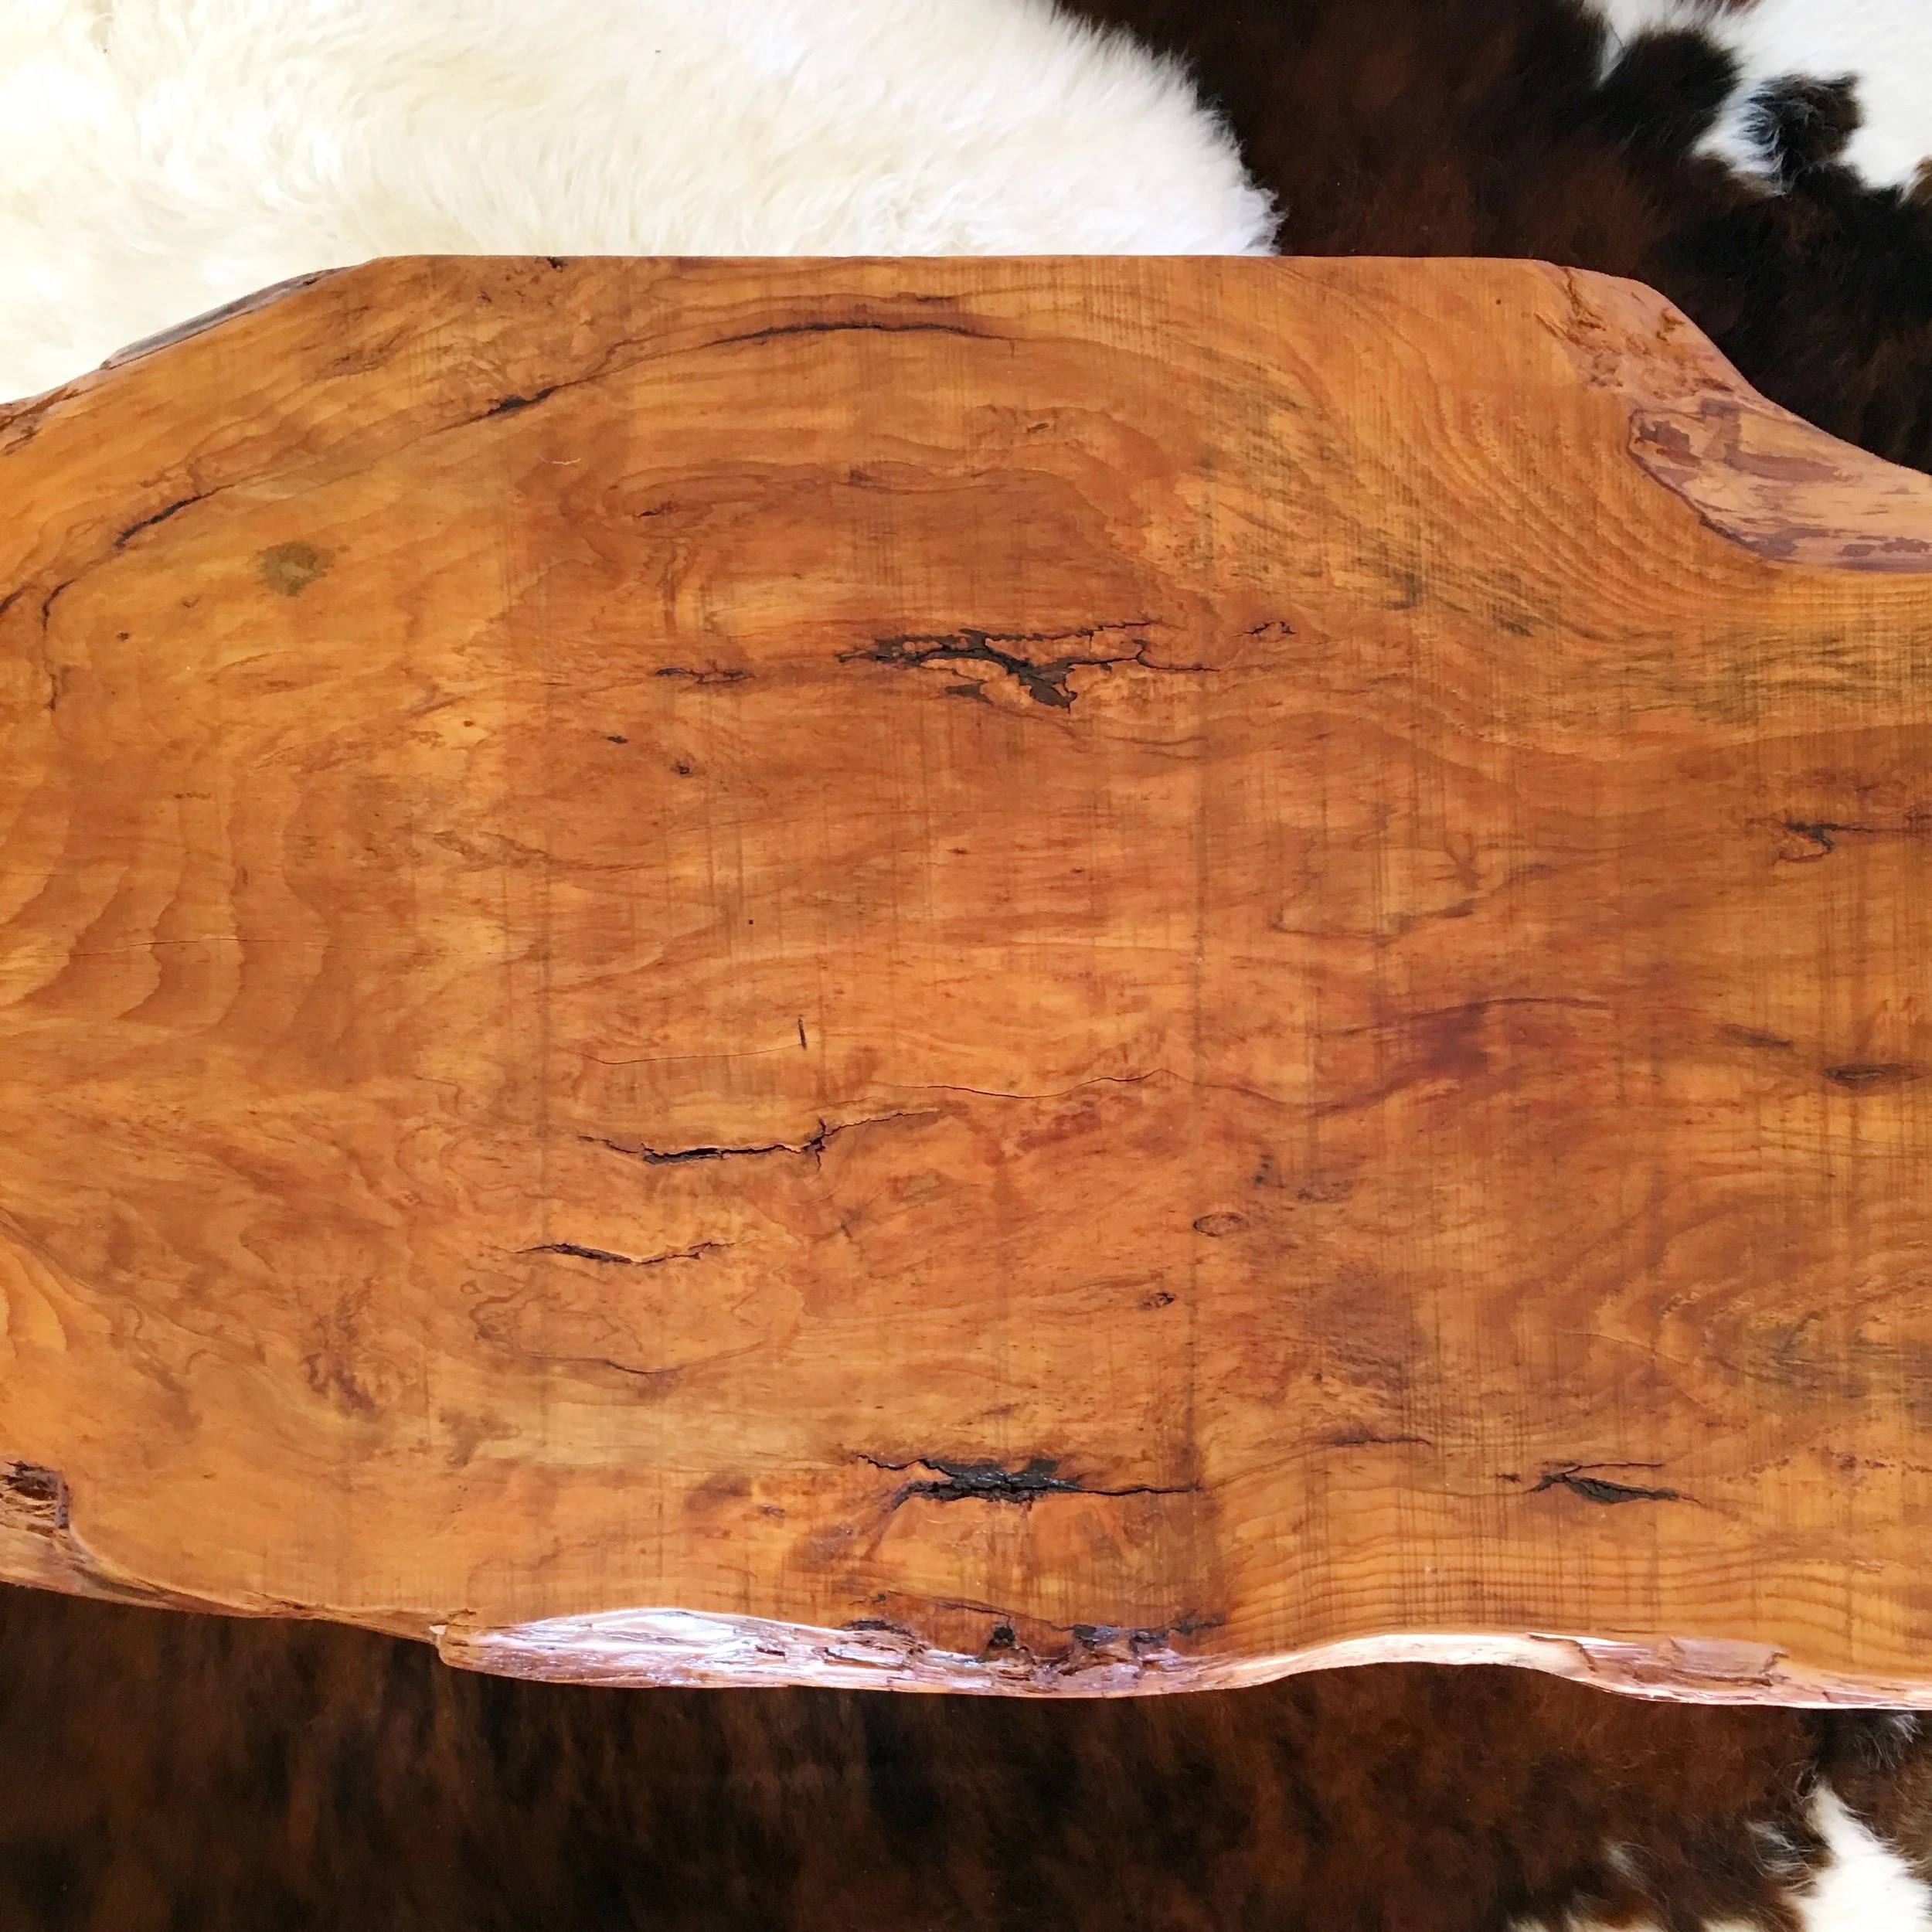
Gently stir the polyurethane finish without making bubbles. Apply one coat at a time, drying and sanding in between. Be sure to also wipe off the dust after sanding. When sanding, you are using a fine sandpaper and doing it lightly. All you want to do is rough up the surface a bit. Drying time between coats is around 3-4 hours. I let mine dry overnight each time. When applying the polyurethane, start at one end of the wood and gently brush in the direction of the grain. Do not brush hard or too quickly because that will produce bubbles and unlike regular paint, most of these bubbles will not disappear. I like to hold the brush at an angle and have it barely touch the wood as I sweep it down the board. Be sure to coat the edges as well.
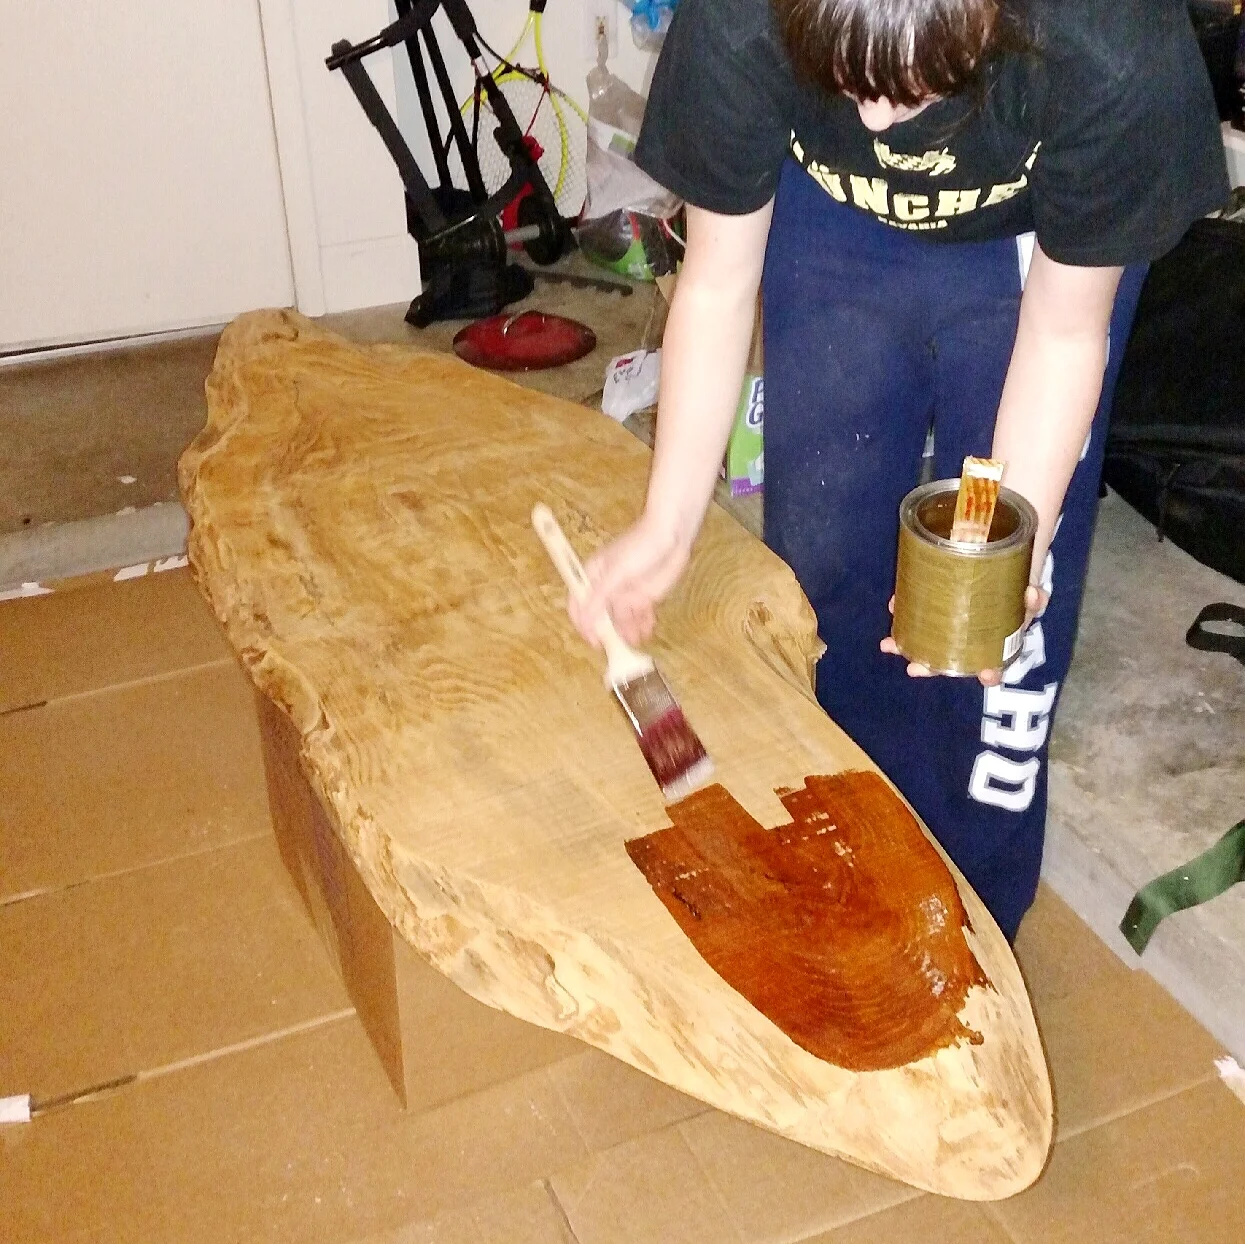

After applying 3 coats to one side, I flipped my board over and applied a few coats to the bottom side. As soon as that was dry, I attached the legs, flipped it back over, and applied one more coat. You can tell that you have enough coats because there will be no shiny spots when it is all dry. It will look even and matte (if you chose a matte finish- I don't really know how to tell if you chose a shiny finish. 3 or 4 coats should be plenty though).
Once it is finish, let it dry for at least 24 hours before using.
I hope these instructions are easy to follow. It is simpler than it sounds and most of it is drying time, which gets old after a while. Plus, once you have this finished table and everyone is complimenting you about it, you start feeling like a queen! or a king! Give it a shot, I would love to see your results. Tag me on Instagram or Facebook with #trendypuku or @trendypuku.
Till next week friends!
_Trendy Puku_