
BEHIND THE SCENES - Glass Fusing
This is a follow up blog post to my interview with Christopher Unger. If you miss the interview, you can find it here. During the interview we mentioned glass fusing and I want to share with you what I know. Like I said in the interview, it isn't a lot!
First, I asked Christopher to differentiate between the types of processing glass. Here is his explanation:
“So, as you know there are three types of glass processes:
One is fusing and slumping where you are primarily working with sheets of glass that you cut into different shapes and melt together in a kiln to create a fused sheet of glass of your own design. Then you can take these sheets you make and slump them into different molds to shape them into plates, bowls, coasters, etc. All the melting and shaping takes place in a kiln.
The other two processes are both referred to as glassblowing but are still unique from each other:
The first is also referred to as Lampworking or Torchworking. With this process you are sitting at a bench with a hot torch in front of you. With this torch, you heat rods and tubes of borosilicate glass, commonly known as Pyrex. In this process you are usually holding the rods and tubes of glass in your hands while heating up the ends and allows you to manipulate and shape the glass in the torch and with special tools.
The other glassblowing process is sometimes referred to as Offhand glass or Furnace glass to help differentiate it from lampworking. In this process, you never actually touch the glass until it has finished cooling in an annealer. You dip the end of a long steel pipe into a furnace where molten glass is held in a crucible. Then you can blow through the pipe to inflate your glass and shape it using special tools designed for the process. There are also secondary ‘furnaces’ that are basically heated drums turned on their sides that are used to reheat the glass so that you can continue to work on it.
All three processes require annealing if the finished pieces in a computer controlled kiln. Annealing is the controlled cooling of the glass in order to relieve the internal stress that would otherwise form if the glass was allowed to cool down too fast. Too fast of cooling could lead the glass breaking, cracking, or in extreme cases, forcefully exploding. So annealing is very important for the durability of the glass 😉”
My mother is a very creative person and she loves glass. She took glassblowing in college and in the past few years has discovered stained glass and fusing. She has a fantastic studio and when I was visiting her in October, she taught me how to make magnets with fused glass. The process is very simple and addicting. Cut the glass in pieces and fit them together. That's it! Not really, but kind of. There are quite a few tricks that make it easier and more predictable. To me, glass is completely foreign so I had no clue whether or not my creations would turn out.


Left: Tools and glass at my workspace. Right: My first three finished magnets, ready to be transferred to the kiln.
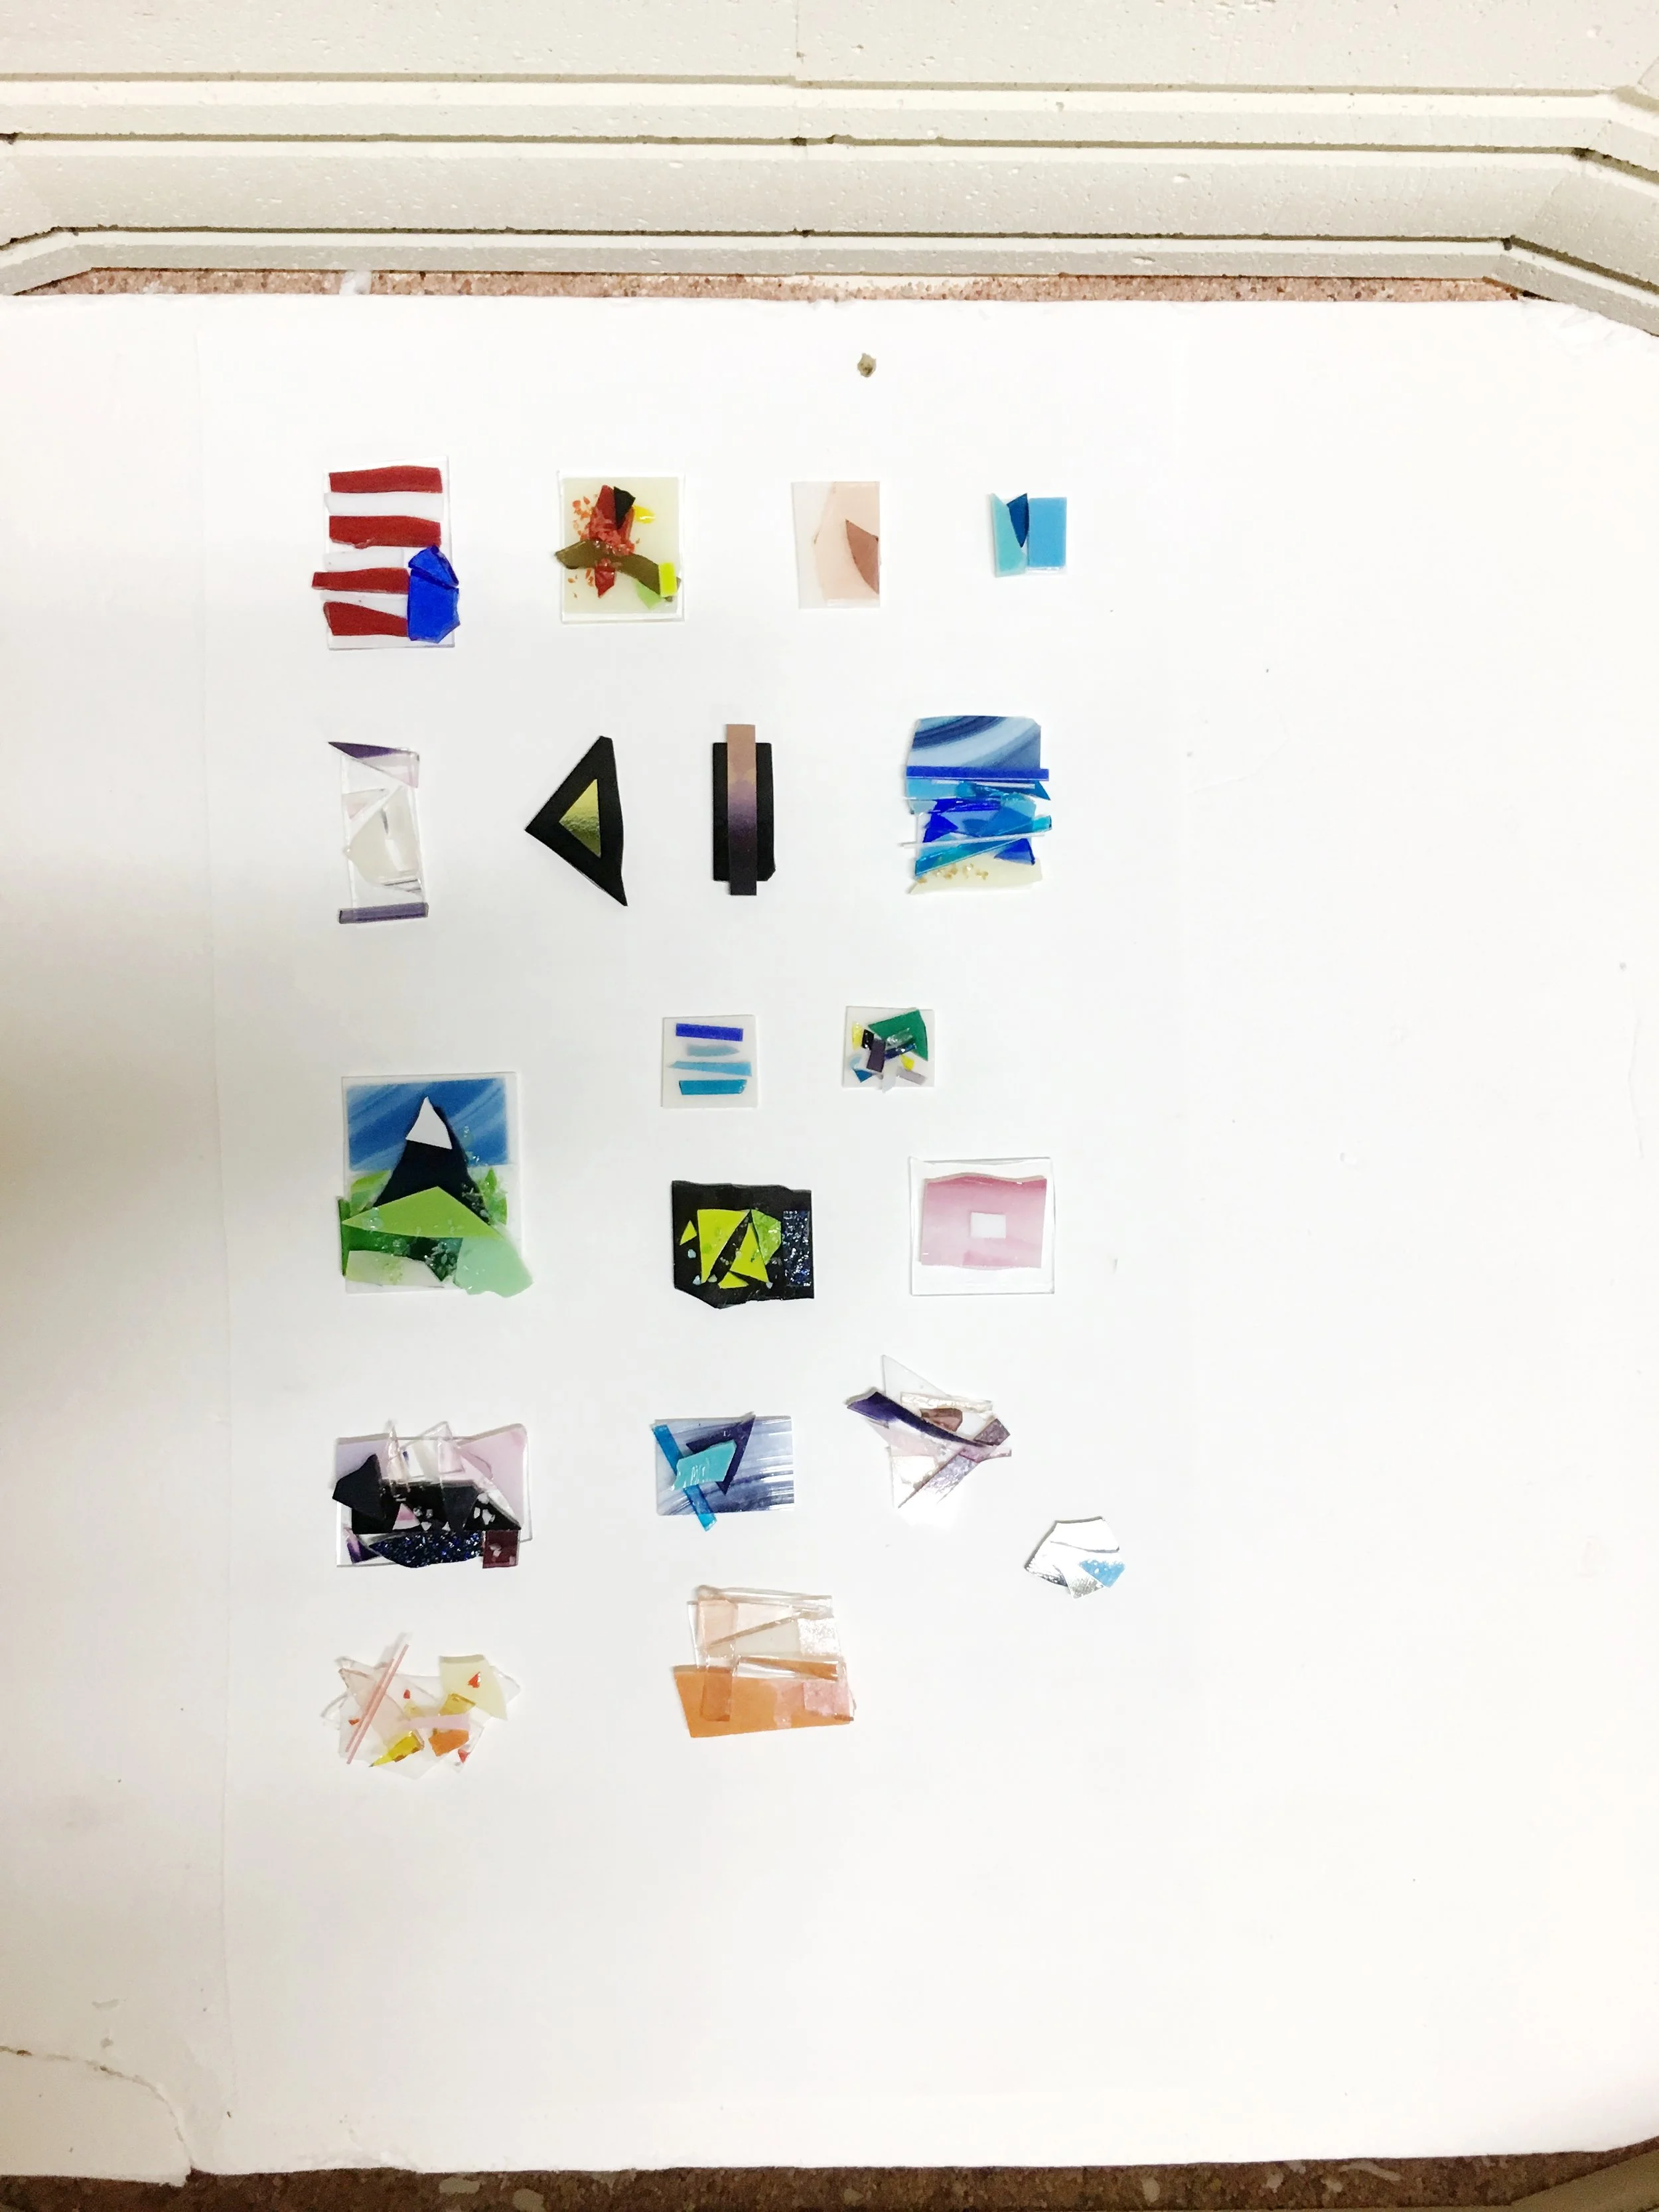

In the pictures above you have the before on the left: everything sitting in the kiln ready to be fired, and on the left, and the after on the right: finished magnets sitting happily on my fridge.
Here is the basic process. First arrange your glass in the desired designs. I learned that you can use drops of hairspray to hold the glass in place (it makes transferring it to the kiln much easier!). Another tip, glass likes to be at least 2 pieces thick. Next, transfer it to the kiln. My mum set up the kiln, but I recall her placing a paper underneath. She also took care of the settings on how hot to get the kiln and how long to run it. The kiln heated up really quickly, then once it reached the peak temperature it held for a certain amount of minutes, then gradually dropped a certain number of degrees every hour until it was cool enough to open and handle. The cooling process is what took the longest. It is the annealing that Christopher talked about. After removing the glass from the kiln, I took them home and glued magnets to the back then stuck them to my fridge.
The side of the kiln had a peep hole that allowed you to peak inside and see what was going on. This is partially through the heating up phase and you can see the glass starting to melt together.
I had so much fun and I can't wait to go back and play with the glass some more. If this sounds like something you want to try, I recommend searching for a local glass studio that offers classes.
Have fun!
